


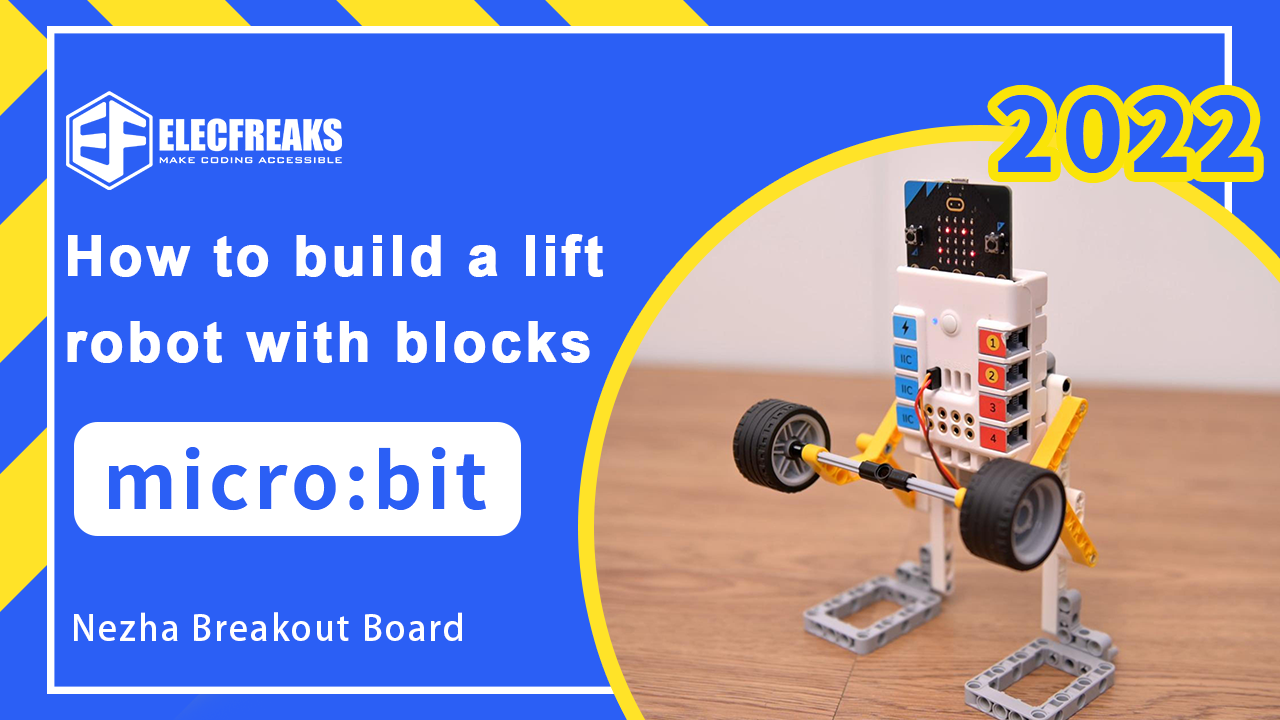
How to build a lift robot with blocks ?

Story
Weightlifting is a long-established sport in which the weight of the barbell is lifted over the head with both hands and the weight of the barbell lifted is the basis of victory. Men's weightlifting was included as an official sport at the first Olympic Games. It was not until the Sydney Olympics in 2000 that women's weightlifting was included in the official program, although women's events have been held at the World Weightlifting Championships since 1987. Weightlifters have to perform two lifts: the snatch and the clean and jerk. All you need to do is follow the list of items I've listed and you're ready to build a weightlifting robot!
Required Equipment
ELECFREAKS BBC micro:bit V2.2 *1

ELECFREAKS Nezha Breakout Board *1

ELECFREAKS 360 Degrees Building Blocks Servo *1

Some building blocks

Case Introduction
We made a weightlifting robot this time. When the robot hears us applauding, it will lift the barbell on its chest with force, then hold it for three seconds with a smile and then put it down. If our applause keeps on coming, then the weightlifting robot will make a continuous movement to lift the barbell and be very happy, it even comes with an encouraging sound effect, which is great!
Build Steps
Step 1
Next, follow me and start building it, as shown in the picture below First we need to install two long blue two-pronged friction pins and a white 1x3 arm with holes (thick) on the servo.

Step 2
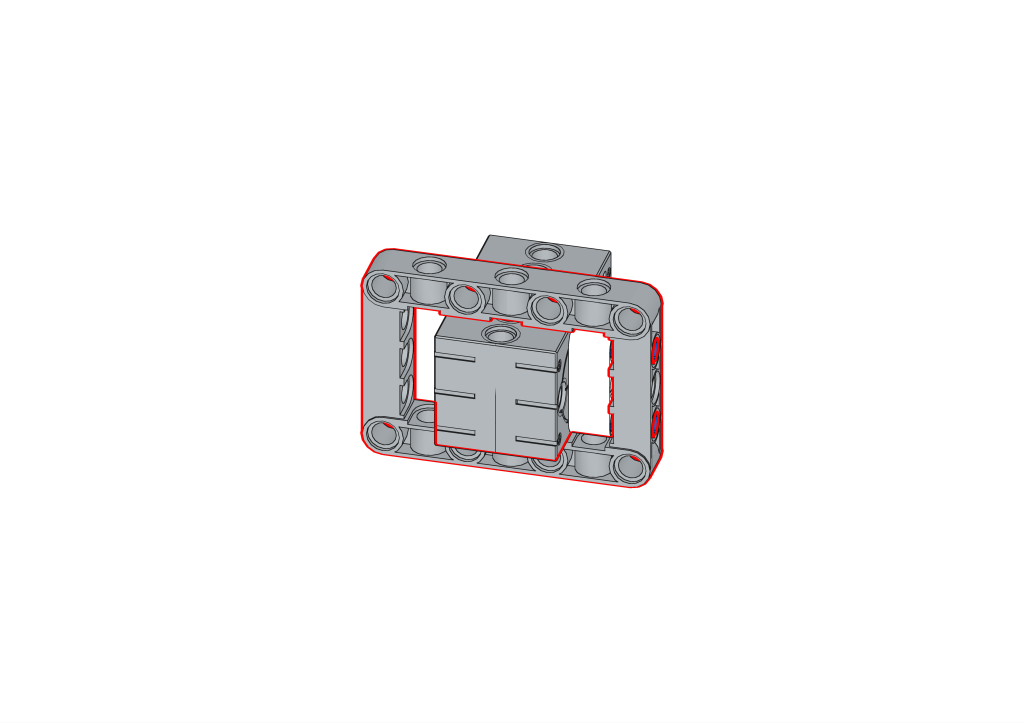
Next fix the servo in the grey 5x7 box.
Step 3
Start assembling the upper part of the weightlifting robot, using the black pin and the blue long pin to hold the servo securely in place, then attach a 5x7 box above it.


Step 4
Then start to assemble the legs of the weightlifting robot by fitting two 15-hole white beams on each side and two four-bolt, three-hole right-angle connectors at the very bottom of the white beams to connect the foot sections.


Step 5
Two double-peg connectors are used to connect the 5X7 box to the white beam section, making up the complete leg and foot section.

Step 6
Then start to install the two-handed part of the weightlifting robot, first using the 5# cross shaft inserted into the holes on both sides of the servo and two 1x4 pegged arms (thin) for driving the arms up and down on the extra part.

Step 7
Next, install the two yellow arms (3x7 double bent 45° arms/beams with shaft bolt holes) and then use the yellow 1x7 arms with holes (thick) to connect the arm section to the power section to achieve the up and down movement of the upper arm driven by the servo.


Step 8
Next, we assemble the barbell for the arm, which consists of two tires with two 7# cross-axles and a 2# 180° cross-axle connector, once installed as shown in the picture below.


Step 9
Finally, we used two black friction pins to fix the Nezha Breakout Board to the front part of the robot and then plugged the micro:bit motherboard into our Nezha Breakout Board to finish building the weightlifting robot.


micro:bit Programming
Next, we simply program the micro:bit board to control the rotation of the servos to drive the arms to lift and lower, and the weightlifting robot is complete.
Our program here is relatively simple. We set the robot's initial expression at the start, set the servo angle to 0 degrees, and set the loud sound threshold to 100, then when loud the robot will display a smiley face and lift the barbell upwards, make a celebratory sound, and after three seconds the robot will lower the barbell, keeping the initial expression.


Programming Link: https://makecode.microbit.org/_bfUdi84XC10X
Display
Conclusion
In this article, you will learn how to make a weightlifting robot and also learn to control the servos through the Nezha Breakout Board. The Nezha Breakout Board has many more functions, think about it, can you add some new functions to it?
About the Author


How to Send Micro:bit Data to ThingSpeak IoT Platform
January 11, 2018

VC0706 Camera Module DIY Guide
December 18, 2014

nRF24L01 Module Demo for Arduino
May 6, 2011


What is the color sensor from Elecfreaks?
June 20, 2023


What is a soil moisture sensor?
June 6, 2023

How micro:bit is precisely delayed and guaranteed?
June 1, 2023


Comments